Growing Garlic is not mysterious or complicated.
If you are an avid gardener, a beginning gardener, or just a fan of fresh and unique tasting Garlic, you will find that it is possible to plant and harvest your own. There is a satisfaction in Planting Garlic from seed and following it to harvest. It involves a little effort to be sure but the rewards can be great.
A bonus about Garlic is that is simple to carry varieties forward from year to year without the need to repurchase additional seed Garlic, depending of course if you can restrain yourself from eating all of it.
Garlic Growing Secrets
(Well, I would like to be able to tell you that there are secrets to growing Garlic but that is not the case.)
Garlic like any other plant that you are trying to grow requires the same basic things soil, sun and water. Sure your plants will grow under adverse conditions but just growing is not enough.
The difference between growing that large healthy Garlic, tomatoes, carrots, roses or whatever is:
- The available nutrients and structure of the soil.
- A steady supply of moisture
- Plenty of sun
Soil
Garlic grows best in well-drained soils high in organic matter. What plant doesn’t? So do your best to prepare the soil. If you can put extra effort into building your soil you will be rewarded with the healthiest, best producing plants. Cover crops are ideal soil builders for larger areas. We use mainly buckwheat for a cover crop and are able to plant and till-in up to three crops per year in an idle area. Composted manure and plant material make one of the best organic soil builders.
Water
Drought or excessively wet conditions will stress the Garlic, reducing your harvest. Garlic likes about one inch of water per week. Never let your Garlic completely dry out while it is maturing. Supplement with extra water any during dry spells but stop any additional watering within three weeks of harvest. Allowing the Garlic to dry out somewhat before harvest starts the curing process.
Sun
Garlic likes full sun if possible.
Clove preparation
Split your Garlic bulbs into individual cloves no more than seven days before planting. Generally everyone wants to grow the largest Garlic so select the largest cloves and plant them first. Larger cloves generally produce the largest Garlic. What do you do with the smaller cloves? Eat them or plant them anyway if you have room. You will still harvest fine Garlic and the smaller Garlic tends to store slightly better.
Most growers suggest giving the cloves a bath before planting to reduce the chance of any pathogens of fungi being present. I have tried several mixtures and have settled on a splash of fish emulsion, 3 tablespoons baking soda and an oz of “Cinnerate” per 5 gal of water.
Planting
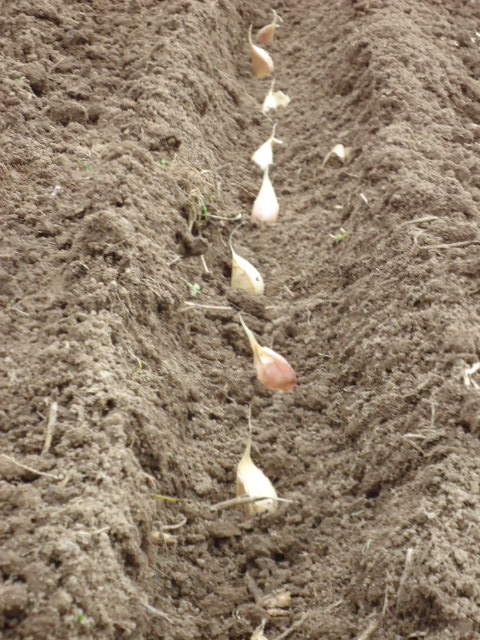
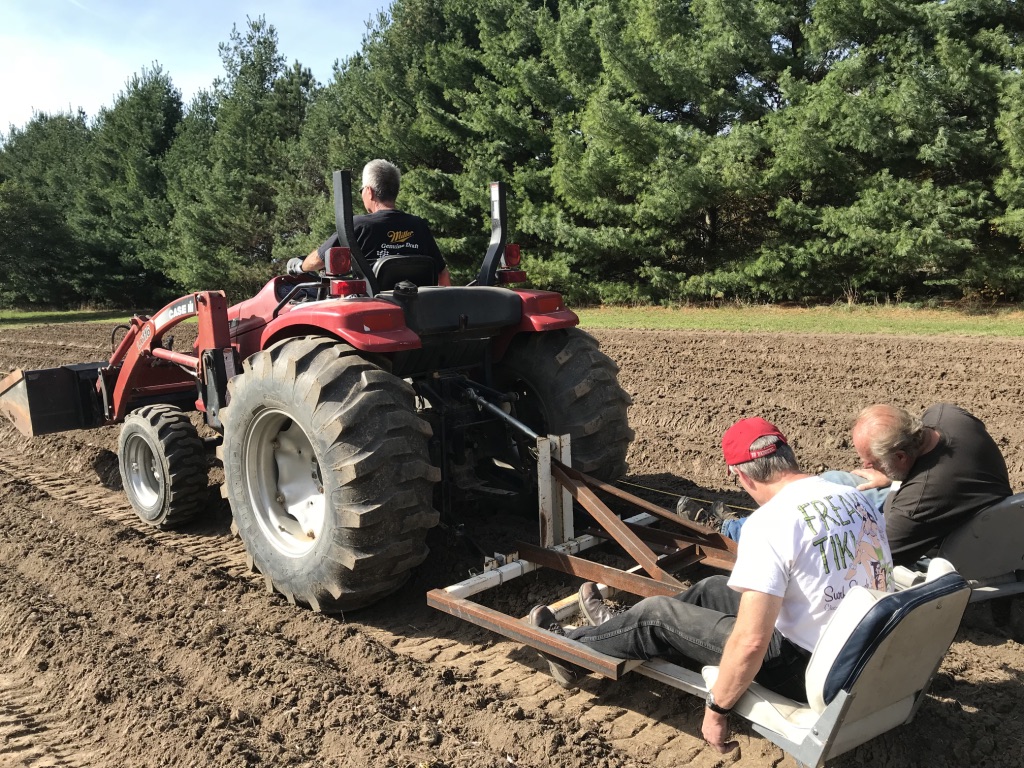
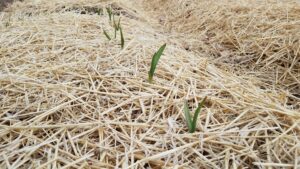
The time to plant Garlic is in the fall, two weeks after the first killing frost. That is about the second week in October here in Wisconsin. What is the correct spacing between cloves, rows or beds? Ask any grower and everyone will have a different opinion. All our planting is done by hand and we plant our cloves 6 inches apart in rows 20 inches apart. That is just enough room to walk between the rows and to weed between the plants. We Plant the cloves with 2 inches of soil cover, root end down.
Mulching
Mulch should be applied within several weeks of planting. Three to four inches of a weed free mulch will help moderate soil temperatures during the winter months. You can remove the mulch in spring to allow the soil to warm faster or leave the mulch in place to discourage weed growth during the growing season.
Fertilizing
Other than trying to build the soil with compost and tilled-in cover crops we use an application of Bone meal in the fall and Blood Meal in the spring. A foliar feeding of fish emulsion applied every other week from March through mid May is also popular.
Weeding
Try to keep your garden weed free. Weeds compete for nutrients with the plants that you are trying to grow. Less competition means bigger Garlic. Fewer weeds means fewer weed seeds.
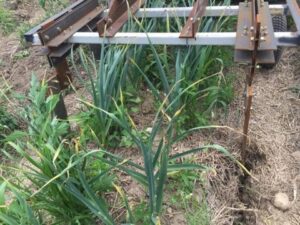
Scapes
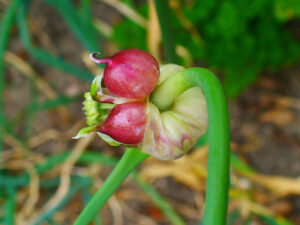
Now we are getting to the fun part. If you have planted Hardneck Garlic, all that soil preparation, planting, watering, and weeding will start to pay off. Scapes are comprised of a stem with a flower or bulbil on the end. Cut them off just above the last leaf after the stems have curled. Scapes are tasty but there are many uses for them from eating to using them in flower arrangements. Do not remove them too early or the Garlic may send up another smaller Scape.
Harvesting
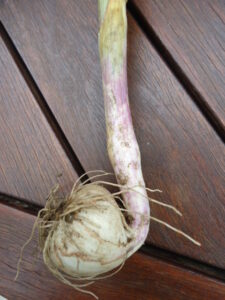
Determining the time to harvest your Garlic can be a little tricky but the Garlic will give you hints as to when it is ready. Watch the leaves. They will start to turn brown from the bottom up beginning from around mid June through mid July. Different Garlic varieties mature at different times. Harvest your Garlic before the leaves are one half brown. Better yet, when you suspect that your garlic is approaching harvest time, dig around a few of the plants without disturbing the roots and take a look at the condition of bulbs. Look at the size of the bulb and look to see that the wrappers are still intact even though the leaves are starting to deteriorate. Harvesting too early is better than harvesting too late. With experience you will be able to the judge if it is time to harvest by looking at the leaves. Harvest the Garlic by digging under it and then lift it out roots and all. Shake off any loose dirt.
Curing and storage
Do not leave Garlic out in the sun after harvesting. Handle Garlic gently to avoid bruising.
One curing method is to tie your Garlic in bunches of ten or less and hang them in a cool, well ventilated, shady place to cure. Curing takes at least three weeks or more depending on conditions. Garlic has finished curing when all the Green plant material has turned brown. After the garlic has cured, cut off the roots to about one quarter inch and the leaves to about one inch.
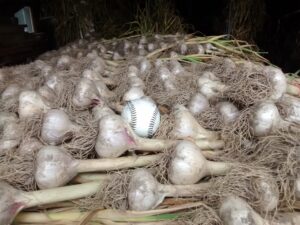
Another method is to cut the roots and stems off at harvest, leaving the stems about 6 inches long. Lay the Garlic in bins or wire racks and use fans to circulate plenty of air. I have found this to be the best method for the largest bulbs.
Brush off any dirt that remains from the Garlic that you are going to use as seed stock for the next season store it at room temperature, in a place with good ventilation, until planting time in a mesh bag or milk crate. Garlic that is destined to be eaten can be cleaned by rubbing off the outer wrapper or with a soft brush. Try not to remove more wrappers than necessary.
Garlic should be stored above 50° F, again in a well ventilated area. Storage between 40° F and 50° F encourages Garlic to sprout. High temperatures will cause the Garlic to dry out.